|
Learn to weld is a lot easier than you might think,
especially if you are shown and guided
every step of the way

Weld in 1 Day™ Weld in 1 Day©
Here is some free information to get you started:
1. Weld in 1 Day introduction.
2. Arc Eys - H&S
3. Stick welding vs Mig welding
4. Welder Shielding Gas
5. Best Beginner Welder + Preparation
6. Best Welders for Beginners
7. MIG and Arc Setup
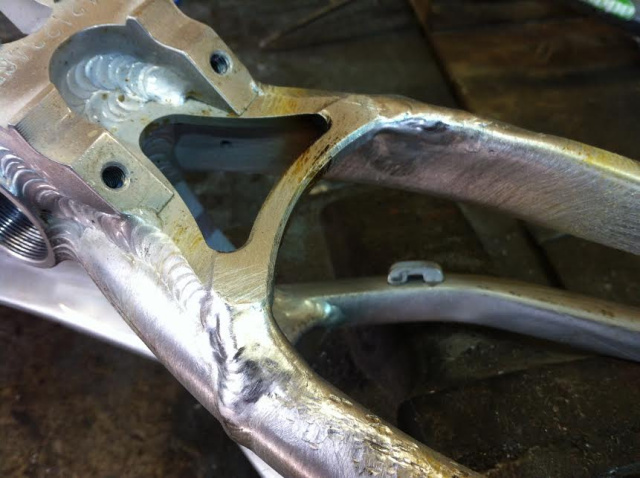
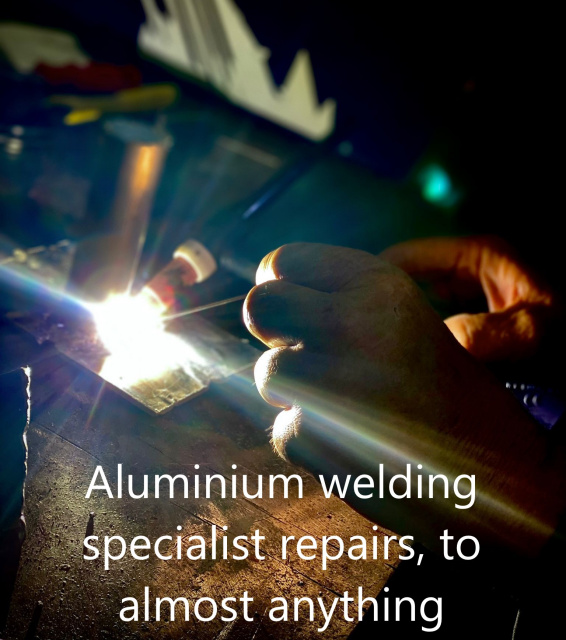
Cracked motorcycle crankcase repairs
We assume you have already gone through all the information shown above, which forms part of this welding course.
If not, we suggest starting at the beginning and go through all the information before continuing.
Welding course material.
8. Weave straight line welding.
9. How to MIG weld Successfully.
10. How to Arc weld Successfully.
11. How to vertical up weld. MIG & Arc.
How to MIG Weld Successfully
In order to achieve the exact same results as
shown in our videos. Just follow every step
in our welding courses, and you WILL
achieve the exact same results!
Strong and perfect looking welds
MIG welding is the easiest of all the welding principles, once you have your MIG welding machine setup of course.
7. MIG and Arc Setup
Setting up your wire feed - voltage/amperage ratio setting.
Most makes of MIG welding machines are slightly different from one another. You will need to experiment with your MIG welding machine to establish a set radio between amperage/voltage versus wire feed speed.
Some MIG welding machines have advanced so far now that all you need to do is enter in the information asked for, and the welding machine sets itself up for you.
If you are setting up you MIG welding machine manually, then once you are happy with a specific setting for say 3mm (1/8") plate, write down the setting to refer back to.
Keep making notes for different settings to make it easy to refer back to the settings. You will more than likely end up with about 4 different settings.
We will be showing you in the videos what to look for when setting up your MIG welder.
There is a specific cracking sound the welding machine makes when it is running really well. Some people describe it like the sounds of bacon cooking. (Sorry for the vegitarians here :-)
We recommend 0.8mm MIG wire for general run of the mill welding. If you are welding thin material, then drop down to 0.6mm MIG wire.
Use 1mm MIG wire for thicker than 12mm material.
0.8mm will still work fine on thicker than 12mm steel but 1mm will increase your productivity.
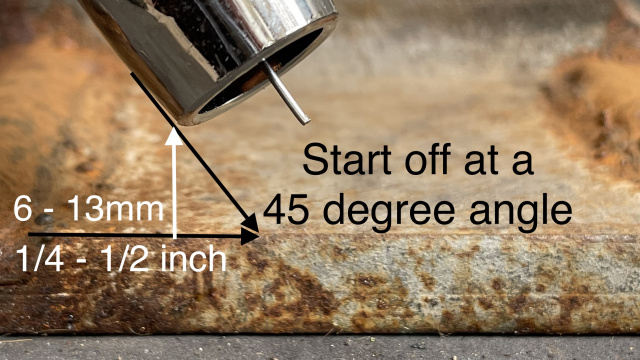
Start off by holding the MIG torch at a 45 degree angle to the work-piece to be welded. Then hold the torch 6 - 13mm (1/4" - 1/2" inch) above the work-piece.
Pull the triggar and the welding will start right away.
Make sure not to look at the welding from directly behind the welding torch. That will prevent you from keeping an eye on the welding puddle. Which is most important.
Look from the side to keep an eye on your distances and watch the welding puddle. Making sure all your angles are correct.
Keep practicing this startup process to get used to the feel of it. Once the arc is flowing and the tip of the welding wire is melting away, carefully maintain the distance and keep yourself as stead as possible.
Slowly keep drawing and advancing the welding puddle, whether using the zig - zag motion or the circular/oval motion techniques.
Keep practicing this motion and get yourself used to the feel of the welding process.
Zig Zag, straight inline welding
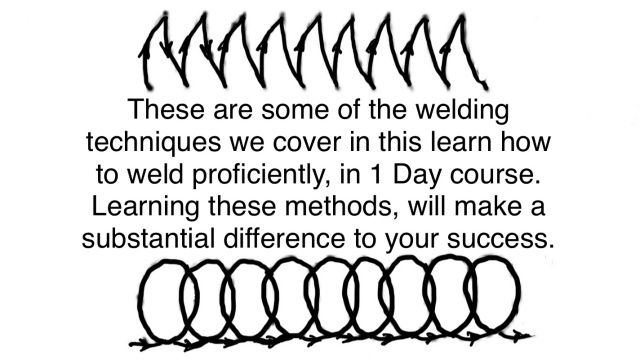
This could be called zig zag or a weaving weld technique.
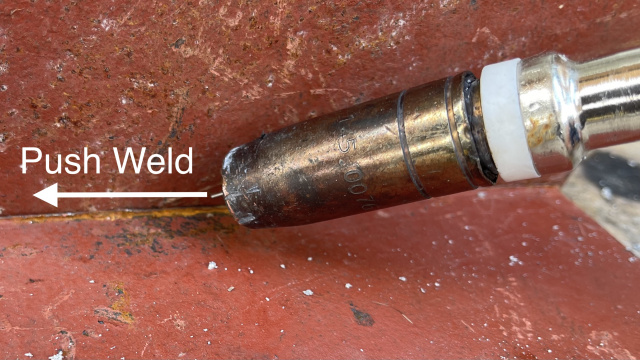
It would be easier to perform a pull weld when using an Arc welder and better to do a push weld when using a MIG welder. Start off at about a 45 degree angle to begin with.
Once you are feeling more confident in maintaining the flow and keeping your distances consistent from the welding puddle, start practising the zig-zag, weaving technique. Moving from side to side about 11mm (7/16" inch), concentrating on being as steady as possible with very even and uniform motions. The more steady and uniform your motions are, the neater your welds will end up looking.
After practicing on a scrap piece of material welding straight lines and you have the feel of the welding flow, not moving too fast or too slow in your welding motion. Constantly keeping an eye on the welding puddle.
You need to pull or draw the liquid welding puddle along so as not to create gaps or holes in your weld, as shown and illustrated in our welding videos.

MIG Torch Maintenance
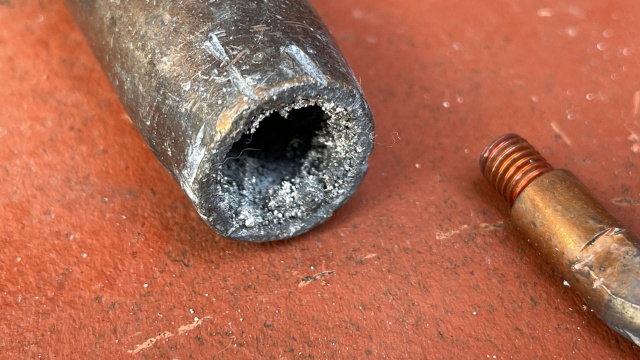
Before we carry on. Let’s run through a few tips on maintaining the MIG torch. After welding for a while, keep an eye out to see there is no gas flow restrictions.
This buildup inside the gas shroud is caused from what’s call welding splatter. If you don’t clean it out from time to time the argon gas flow will be restricted.
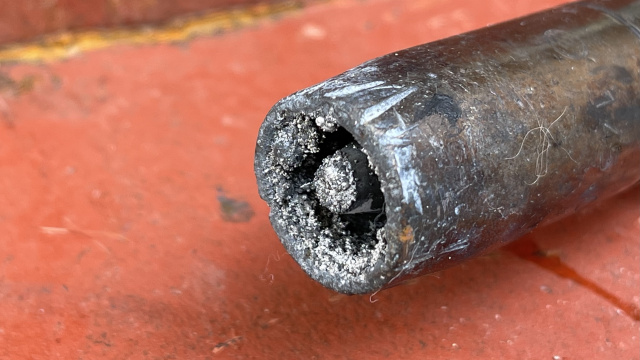
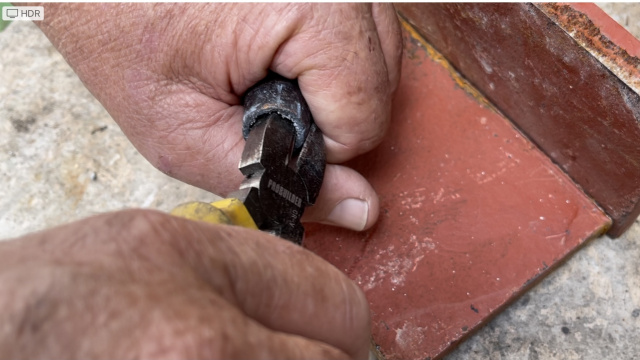
When the shroud is cold enough, twist it off the end of the MIG welding torch. Twist and pull, to get it off.
Holding the shroud in one hand use a side cutter (snips) in the other hand and slide one of the jaws inside the shroud. Then twist the shroud and snips round and round, dislodging the welding splatter from inside the welding shroud.
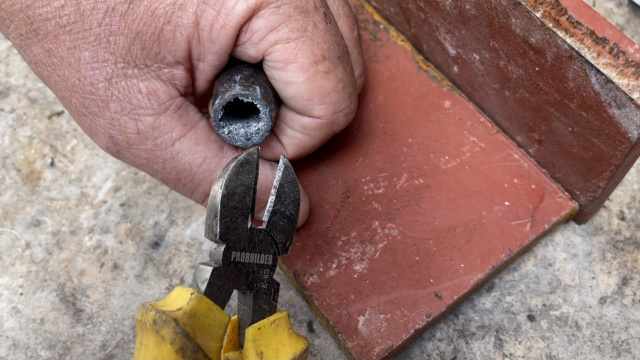
This method of cleaning out the welding splatter biuildup as it is called, works really well.
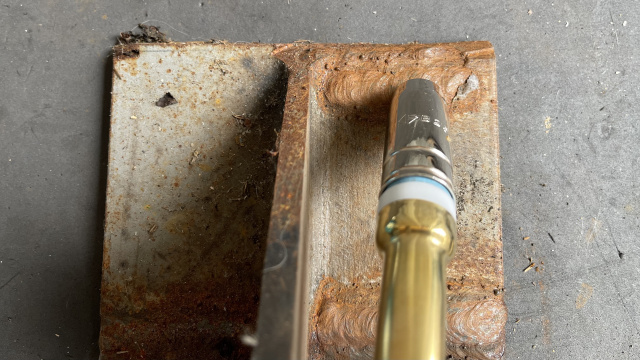
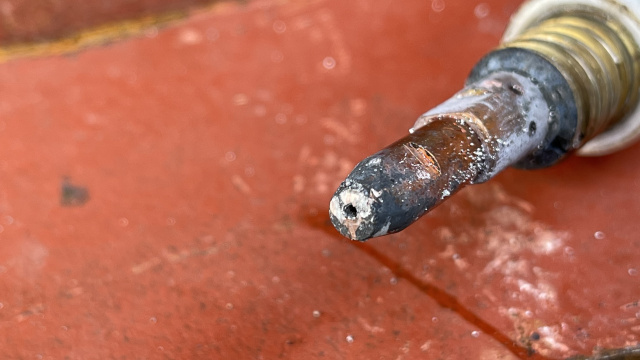
The nozzle tip sometimes has the wire melting and fuses onto the nozzle tip. You might be lucky to break it away by cutting across the face of the tip.
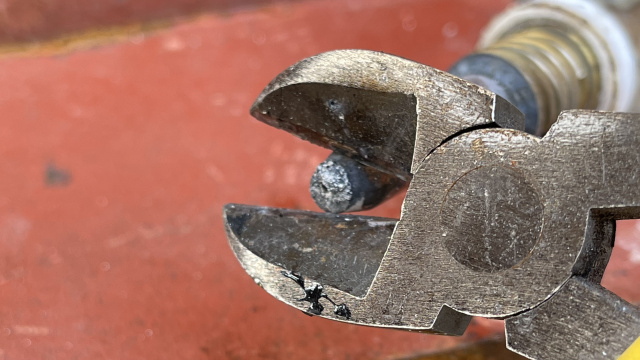
If the tip does not clean up nicely, then look at replacing it. It’s a good idea to have a few in stock because they can give you a headache sometimes if your settings aren’t correct.
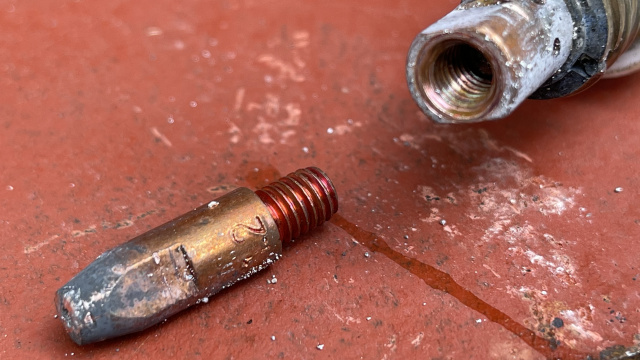
This one cleaned up nicely.
Look closely and notice this tip has the writing on it. 1.2mm.
Always make sure the tip size corresponds with the wire diameter.
|
 To enhance your user experience on our website, this site uses cookies.
If you continue to browse, you accept the use of cookies on our site.
See our Privacy Policy
for more information.
To enhance your user experience on our website, this site uses cookies.
If you continue to browse, you accept the use of cookies on our site.
See our Privacy Policy
for more information.